Object-Detection Classifier for custom objects using TensorFlow (GPU) and implementation in C++
Brief Summary
This repository is a tutorial on how to use transfer learning for training your own custom object detection classifier using TensorFlow in python and using the frozen graph in a C++ implementation.
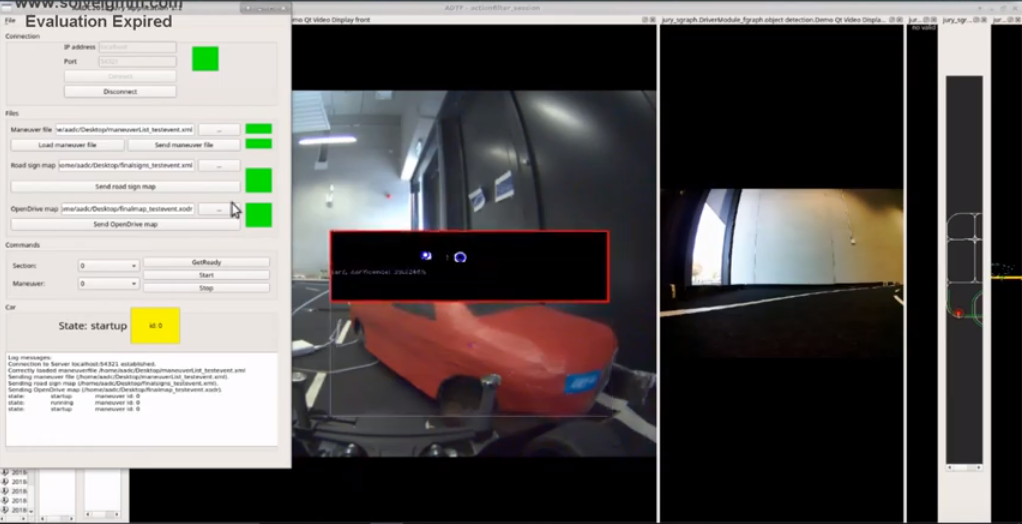
This project was done for an autonomous driving challenge where the classifier was used in a mobile platform for the detection of objects like cars, pedestrians, and emergency vehicles.

Prereqisities
- TensorFlow GPU on Windows
- TensorFlow C++ Library on Windows
- Anaconda
Introduction
Inorder to train your neural network, TensorFlow with GPU support has to be installed. There are many tutorials which explain on how to get this working on your machine. I will attach my favourite tutorial which I used for setting up TensorFlow GPU on my machine as it does not make sense to explain something that is already clearly explained. You can find the link below.
The tutorial also clearly explains on how to create your own classifier. If you have followed it carefully, you will have a .pb file in the end which you can deploy from C++. A corresponding labelmap.pbtxt is utilized by the python script to display the names of the custom objects next to the bounding boxes when it detects objects.
Please follow the tutotial on: (https://github.com/EdjeElectronics/TensorFlow-Object-Detection-API-Tutorial-Train-Multiple-Objects-Windows-10)
Building TensorFlow in Windows
Skip this part if you dont want to use TensorFlow from C++. This is again another tutorial which i followed for setting the TensorFlow C++ library on windows.
Please follow this link: (http://anonimousindonesian.blogspot.com/2017/12/tutorial-how-to-build-tensorflow-on.html)
Using the Frozen .pb file from C++
Once you have followed the above tutorial to setup TensorFlow GPU and created the object detection classifier, the next step is to use it from C++. Python is hands down better to work with, but because the end usage of my project was a development environment (Automotive Data and Time-Triggered Framework) based on C++, I had to deploy the neural network in a c++ implementation.
The .pb file and the .pbtxt file cannot be directly used in the C++ implementation. For the C++ code, a labels.txt is utilized for naming the detected objects next to bounding boxes. This labels.txt has to be created in the same order as the labelmap.pbtxt. For example if your objects of interest for the custom detector are basketball, shirt and shoe. Then the labelmap.pbtxt will look something like this:
item {
  id: 1
  name: 'basketball'
}

item {
  id: 2
  name: 'shirt'
}

item {
  id: 3
  name: 'shoe'
}
In this case, create a new .txt file called “labels.txt”. The contents of this file should look like:
0: unlabeled
1: basketball
2: shirt
3: shoe
Now this “labels.txt” file can be used along with the “frozen_inference_graph.pb”.
NOTE: One important thing to make sure is that the version of TensorFlow used for the deployment is same as the one with which the “frozen_inference_graph.pb” was created. If not you will have errors because of missing functions.
Running the C++ Code (SSD_Source.cpp)
In the source file “SSD_Source.cpp”, change the location on the line 26 to the location where you have the frozen_inference_graph.pb.
std::string TF_PB_PATH = "Full path of your frozen_inference_graph.pb";
On the line 27, change the location to the location of “labels.txt” file.
std::string TF_LABELLIST_PATH = "Full path of your labels.txt";
If you want to run the detection on a livestream from your camera, uncomment the code block found on line 50 and line 55. While trying to load the live stream, do comment the line 22 which reads an input image and line 23 which writes the output image with bounding boxes.
Run the source code from Release and x64 Configuration and the object detection works like a charm.
Authors
-
Vishal Rajendra Kumar - Initial work - Vishal Rajendra Kumar
-
Edgar Welte - Edgar Welte